Easy Origami Gift Boxes
- Marie Boyd

- Nov 29, 2022
- 2 min read
Welcome! Today I wanted to share a simple origami box. When I was in high school, I worked in a gift shop and the owner, a dear friend, taught me how to make these boxes out of old calendars. If you don’t have a calendar, most any paper or card stock will do. I’ve found that lighter-weight papers (text) work best for smaller boxes and heavier papers (card stock) work best for larger boxes. Just add a bit of cotton, a ribbon, a dried flower, or a DIY star for a beautiful wrap for a small gift.

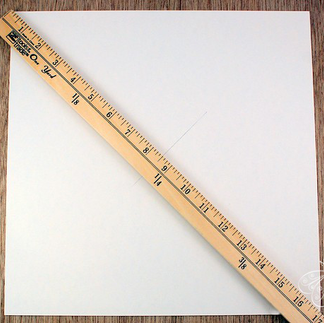
To make a box, I used the following: 2 pieces of 12″ by 12″ scrapbook paper, a pencil or pen, a yardstick, scissors, bone folder (optional), and tape (optional).

1. To make the boxes, I used two 12″ by 12″ pieces of scrapbook paper. (Some scrapbook paper has a printed border with the paper information, which is not included in the size. If your paper has a border, cut it off before you begin so that your paper is square.)
2. I marked the center of my paper square by drawing lines corner to corner to make an “x”.
3. I folded each corner to the center (of the “x”).
4. For the box bottom: I folded opposite edges of the paper to the center, unfolded, and repeated with the other sides.
5. I made four cuts in the paper (two on each side).
6. I assembled the box, using a piece of tape on the inside to keep it together.


7. I used the same steps to make the box top, except that in step four, I folded the opposite edges of the paper just short of the center, unfolded, and repeated with the other side. This makes the box top slightly larger than the bottom so that they fit together.

Enjoy! If you make these boxes, I would love it if you would share it with me by posting a photo of it on Instagram and tagging me (@artistscholar). For more craft ideas, please follow my blog and subscribe to my mailing list.


Comments